

I've been aching to do another DIY tutorial! I'm totally in love with my finished product and can't wait to share it with you. Earlier today I saw the left image on Tumblr. My first thought was "I want that romper." And of course, my second thought was "I can make that romper." See the full how-to after the jump!
I should ask before I say anything else: can anyone tell me from where the image on the left comes? I have tried TinEye to find its origin, but no luck yet. I'd love to give credit to the company and/or photographer!
Anyway, let's continue. My mind flashed back to the velvet and mesh dress I had purchased about three weeks ago at the thrift store. It was about four or five dollars, fit me like a glove, but seemed a little too "dressy" for me too get much real use out of it. So it has been in my closet for three weeks waiting for its time to shine.
This tutorial is [most likely] applicable to any dress you find while thrifting. Whether it be long, short, or in between, you will probably be able to get a playsuit out of it. Feel free to click any of the images to see them larger.

The first thing I did was lay the dress out as flat as possible. Mine had a seam down the back of the skirt, so I made sure it was centered. I then shortened it by cutting about two or three inches off of the bottom. I'm planning on using the extra velvet to make a head wrap or two! I made sure to leave the shorts a little longer than normal because I had planned on cuffing them.

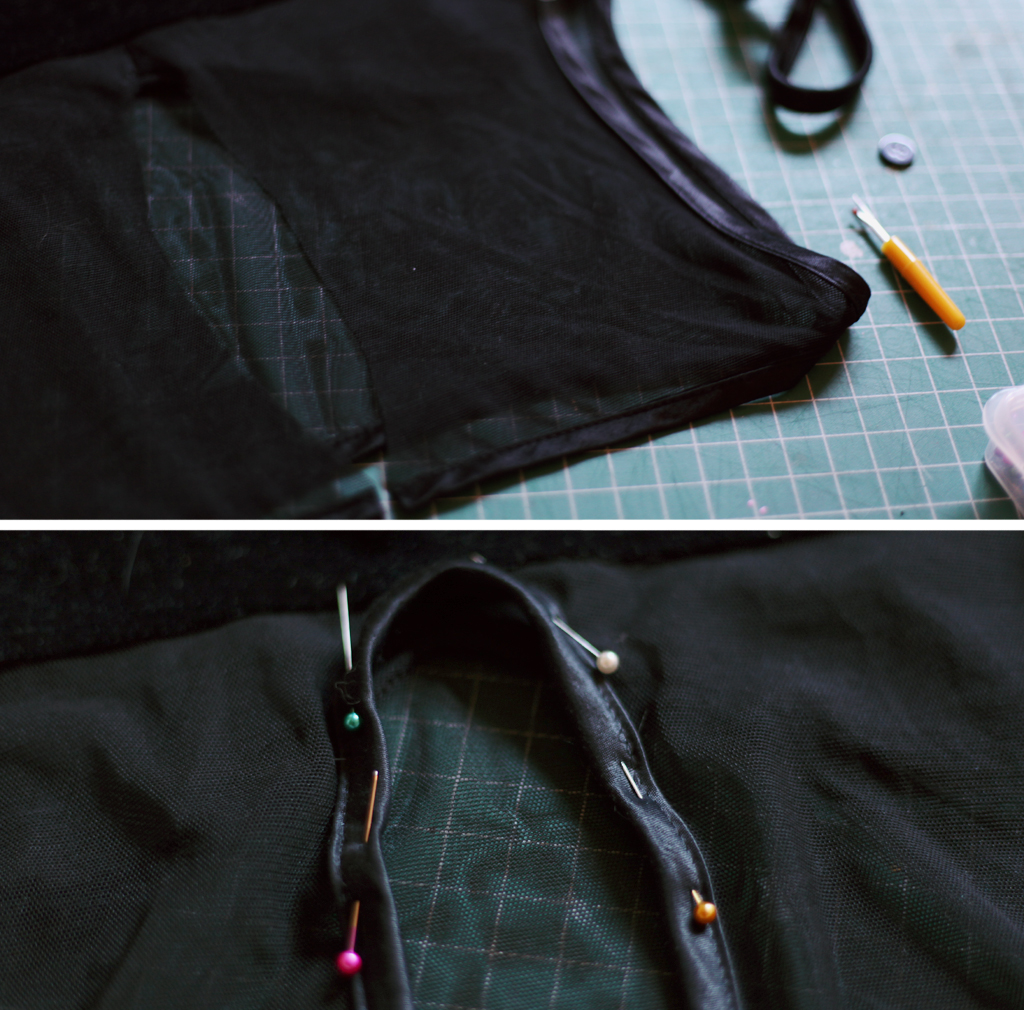
I made sure to pin around the leg cuts in order to get an even seam. You have to be careful here since you don't want your jumper to appear diaper-y!

I used a really tight zig-zag stitch and sewed the crotch up all in one take. It was super easy! Then I finished the leg openings so that they had no raw edges showing.
Once I finished up the legs I came to a horrible thought — how was I going to get my body into this thing? I face palmed and started brainstorming. I don't have any zippers immediately available, but I do have lots of buttons. I cut a tear drop shape out of the back mesh panel, taking extra time to make sure it was very, very even. Then I sat down, took a deep breath, grabbed the seam ripper and extra velvet from the bottom of the dress. It was finished with the same trim as the top, so I pulled the stitches out until I had enough to contour the back cutout. Once I had a piece long enough, it was easy to pin in place and stitch on.

I left a little bit of extra trim so I could fold it over to hide any raw edge. On one side I placed a single black button. The other, a short piece of black silky, thin rope.

This is the finished product (without the legs cuffed). I absolutely adore it! I'm excited to try it with other materials and patterns. I hope this helps some of you out and gives you an idea of what you should do with your thrifted dresses! Feel free to leave comments and links to your creations.

Oh, how could I forget? This is how it looks! The belt isn't needed for this particular playsuit, but I love the contrast. The cuffed legs give it the perfect amount of flirt and fun. I'm thinking about using this for my outfit post today. Are you as excited as I am?
wow i am really excited that you posted this! i've been desperately looking for a romper at the thrift stores but haven't had any luck...i did, however, just find a dress that i'm pretty sure wants to be a romper. i never would have thought of this otherwise :)
ReplyDeleteally
www.feverthrift.blogspot.com